Add an IntoPaid inquiry form to a page in your Shopify theme. A shopper fills it out on the live storefront, and a ticket appears in your Ticket Inbox next to email and Instagram. They don't need an IntoPaid account.
The form uses your theme's fonts and button style. You edit it in the theme editor, not in IntoPaid settings.
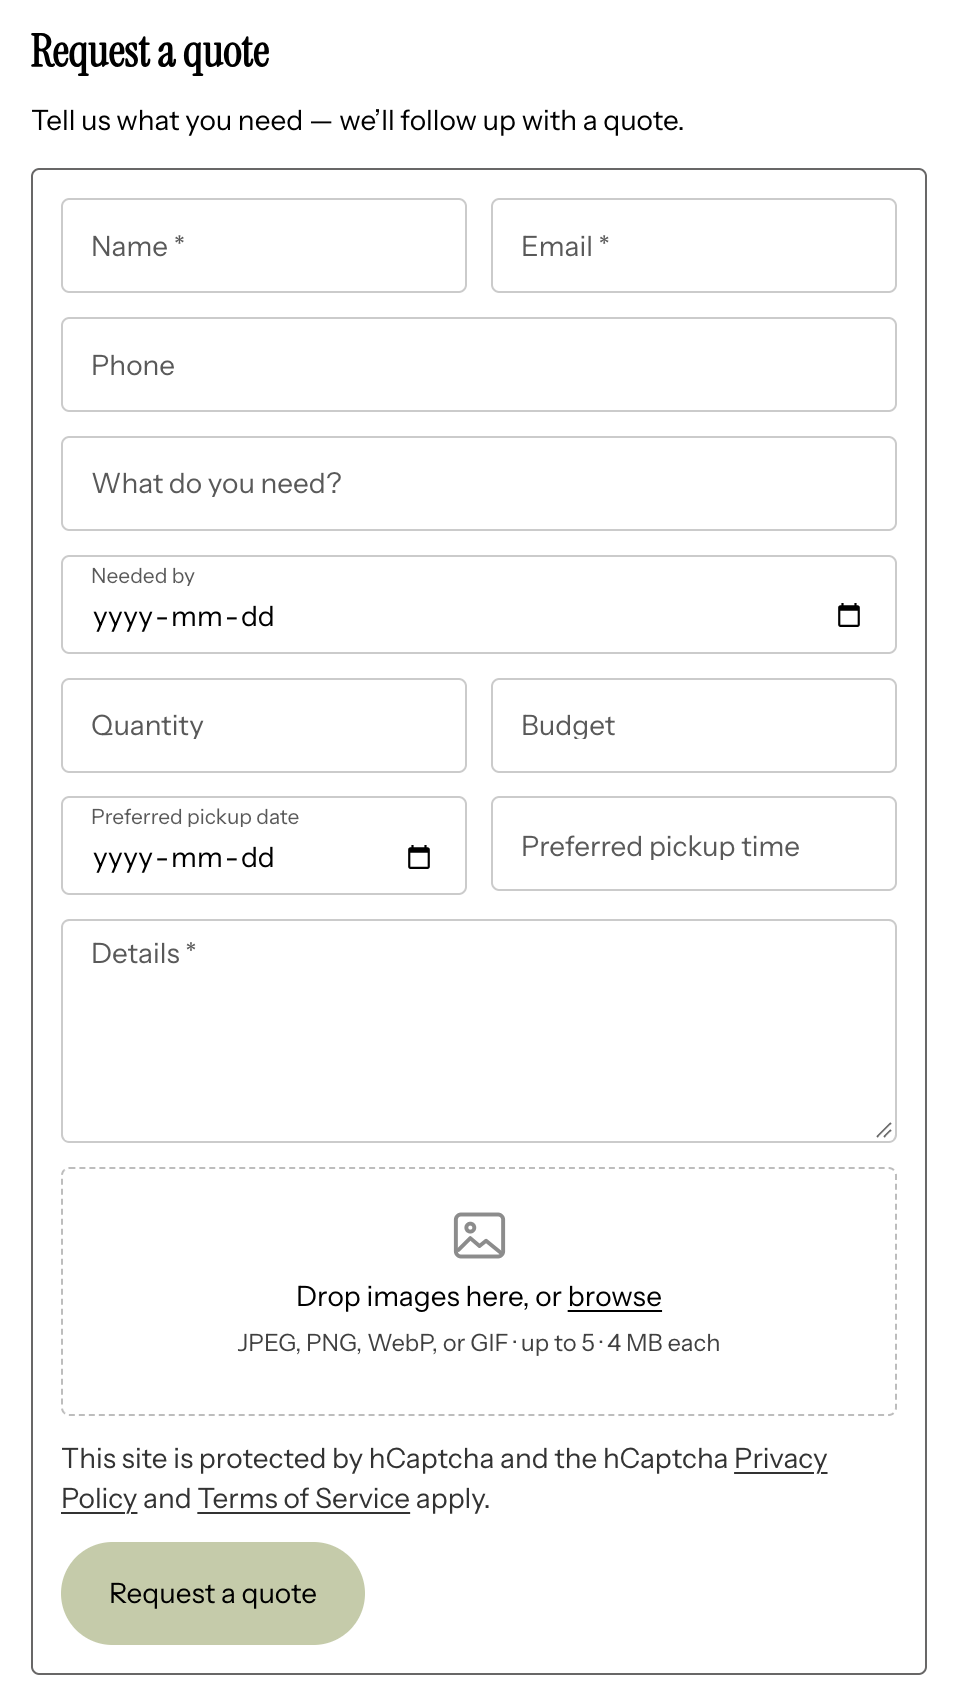
Add the form
The IntoPaid Shopify app has to be installed, and the shop linked to your IntoPaid workspace.
- In Shopify admin, go to Online Store → Themes → Customize. You can also open Custom Form on Theme in the IntoPaid app and choose Add to theme.
- Open the page where the form should sit.
- Add section → Apps, then pick a template:
- Generic Quote
- Custom Quote
- Florist inquiry
- Farm inquiry
- Baker inquiry
- Maker inquiry
- Save the theme.
If an older IntoPaid form is already on the page, remove that section first, then add one of these templates.
The theme editor preview does not create a ticket. Submit the form on the live storefront (the published theme, not Customize).
Customize the section
Each template has the same kind of settings in the theme editor.
Content
- Heading and heading size
- Intro — the short line under the heading
- Button label
Fields
Name and email sit on one row. Email and the message stay required. You can turn the other fields on or off and change their labels and placeholders.
The template adds the questions that fit that shop:
- Generic Quote and Custom Quote — what they need, quantity, budget, and a needed-by date
- Florist — occasion, event date, palette, flower notes, and budget
- Farm — product and quantity
- Baker — occasion, event date, servings, flavors, dietary needs, and budget
- Maker — the piece, quantity, materials, needed-by date, and budget
Pickup date and pickup time are optional. When both are on, they share a row. Those answers also set the pickup on the ticket.
Extra fields add your own questions. Most templates allow two. Custom Quote allows six. Use a lowercase ticket name with underscores, such as inscription. Answers show on the ticket as Inquiry details.
Shoppers can drop images on the form, or browse for them. JPEG, PNG, WebP, or GIF, up to five files, 4 MB each. Those images are uploaded onto the ticket.
Style
Leave Form background and Form border empty to keep the form flat on the page. Set either color to put the form on a card. Custom CSS is optional and applies only to that section.
Narrow width keeps the form in a shorter column, centered on the page.
What a submission does
On the live storefront, a successful submit:
- Creates a ticket in your Ticket Inbox.
- Emails your IntoPaid account that a website-form ticket was created.
- If Create a Shopify customer is on in the app's Settings, finds or creates that customer, adds the IntoPaid lead tag, and writes the ticket link at the top of the customer note. Another inquiry for the same email adds that new ticket at the top and keeps the earlier note below it. A phone number is saved only when the customer doesn't already have one. Email marketing is set to subscribed only for a new customer.
- If Run Shopify Flow is on, starts the Inquiry submitted trigger so a Flow workflow can run. Flow needs the customer step, so it stays off while customer sync is off.
Open those switches from the IntoPaid app → Settings. View customers and Open Flow on that page jump to the matching Shopify admin screens.
From the ticket, quote and get paid the same way you would for any other inquiry. See Work a ticket.
If the ticket doesn't appear
- Submit on the live storefront. The theme editor preview does not create tickets.
- Confirm the shop is still linked in the IntoPaid app. A paused or unlinked shop can't take the form.
- If the storefront is password-protected, enter the store password before submitting.
- Refresh the Ticket Inbox and check Unread.
If you're just getting started, Your first ticket walks through quoting that inquiry.
